How to Build a Tortoise Enclosure
There are many, many ways to build a tortoise hatching enclosure. I’m going to share with you what has worked for me. Over the past few years there has been shift in what tortoise keepers fell is the best environment for young tortoises. The old and I believe the outdated way was to set up an open top ‘tortoise table’, clamp on a couple of heat lamps and a UVB/UVA light and you were set. Well, we are finding more and more evidence that humidity levels play a crucial role not only in tortoise carapace development but also in over all growth, health and general vigor. Many tortoise hobbyists are seeing improvements in these areas with their hatchlings when housed in an environment with 50-85% RH (relative humidity). This is the housing technique that I believe in and what I have found works for me and my leopard tortoise hatchlings. I refer to the housing structure as an ‘enclosed chamber’. I’m not sure who coined the phrase but it is very descriptive and accurate for this type of structure. Essentially what it is is a rectangle box or you can think of it as a tortoise table with a top. Adding a top makes it much easier to control temperatures both night and day and the humidity levels through out which is the ultimate goal.
Here are a list of the materials I use:
Laminated Pine boards 16″ H x 8′ L from HomeDepot – These boards are easy to cut and drill into and when you applied a finish, they look pretty good.
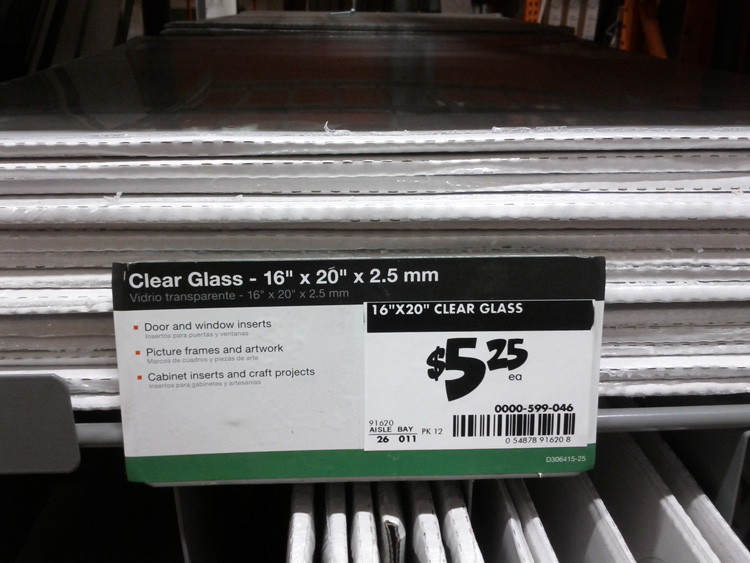
Glass pane (not Plexiglas or acrylic they will warp in the high humidity) from HomeDepot – cut to fix your needs. Serves as a window so you can keep an eye on your little hatchlings. I run black Gorilla tape along the edges for added strength.
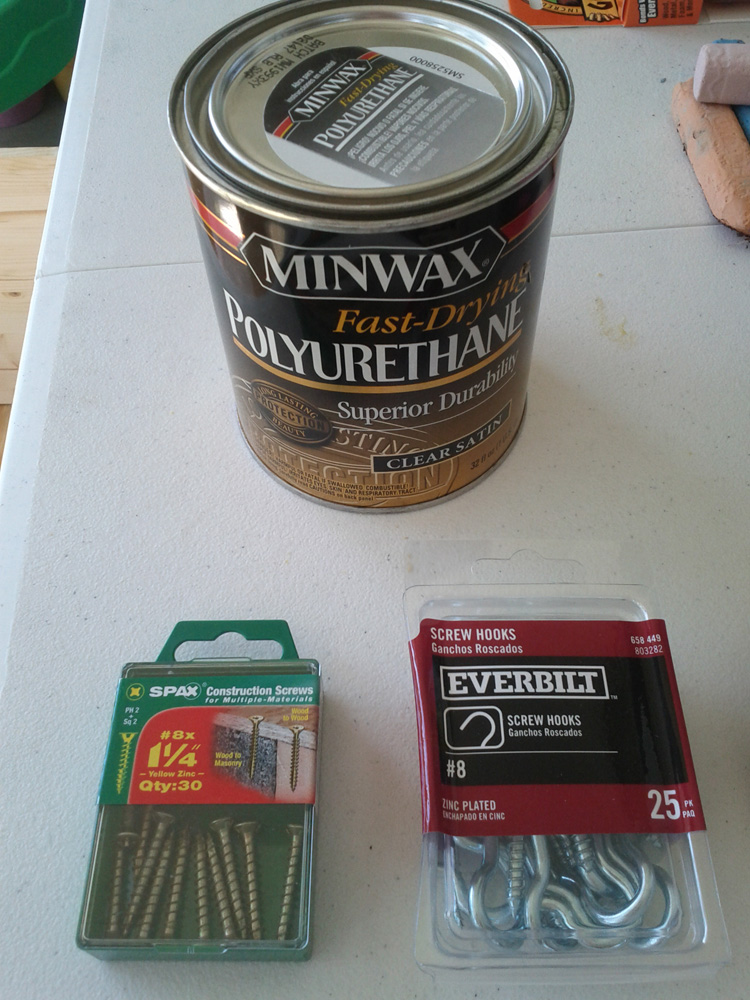
Wood stain (Minwax), box of wood screws, hooks to hang the lamp domes.
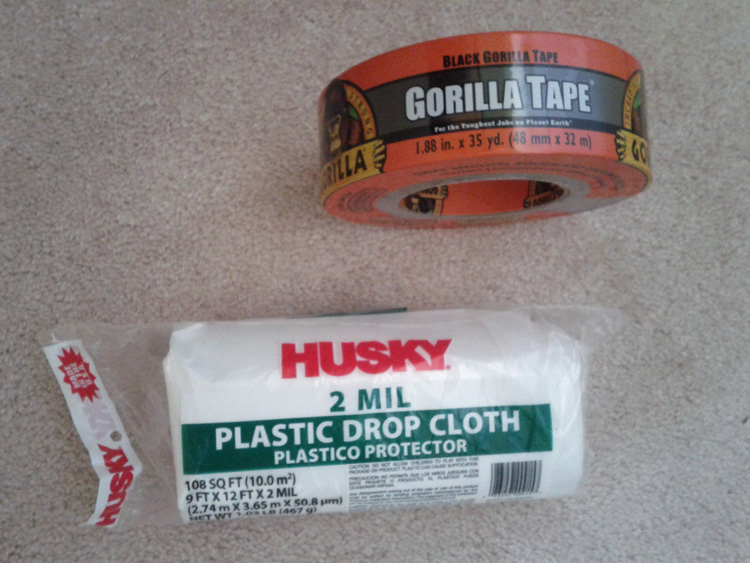
Plastic painter tarp/drop cloth 2mm and a roll of Gorilla tape
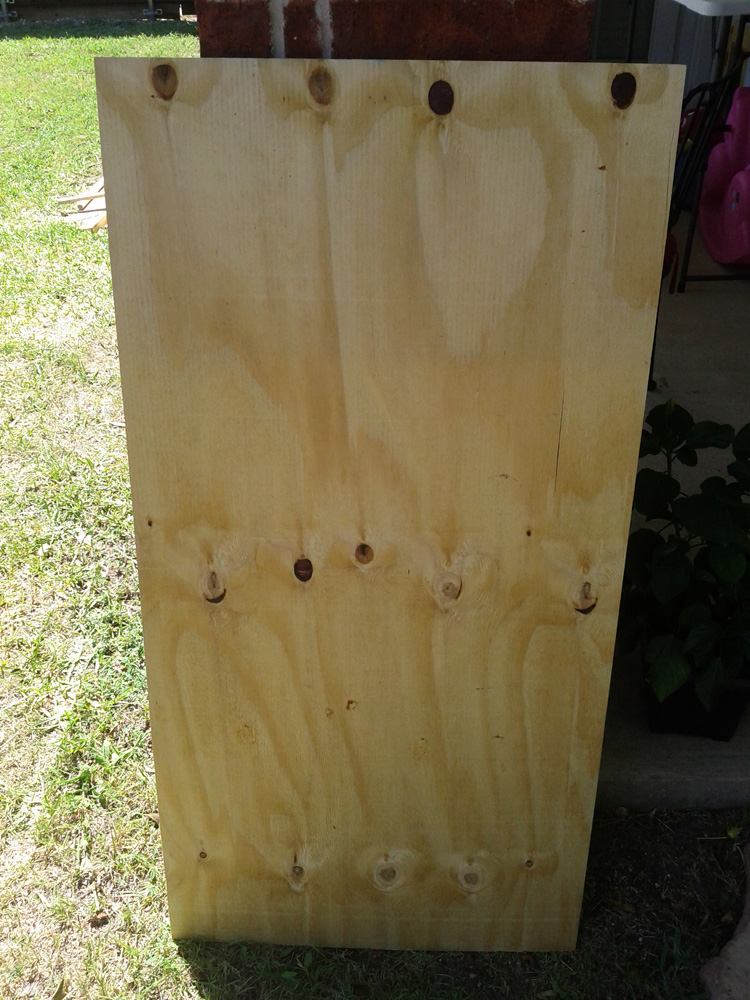
3/4″ plywood – I like the pre-sanded board which looks nice and splinters less.
3/4″ PVC pipes and a pack of 90 degree ‘elbow’ connectors
Once you have the materials, you can begin to build the enclosed chamber. The general rule is ‘bigger the better’ so you want to build it the largest you can that your indoor space will allow. Keep in mind that some leopard tortoises can grow very fast and reach 10″ in a couple of years. Also if you plan on housing 3 or more tortoises in the same enclosure, you want to give them as much space as possible so they can get away from each other as tortoises are solitary creatures.
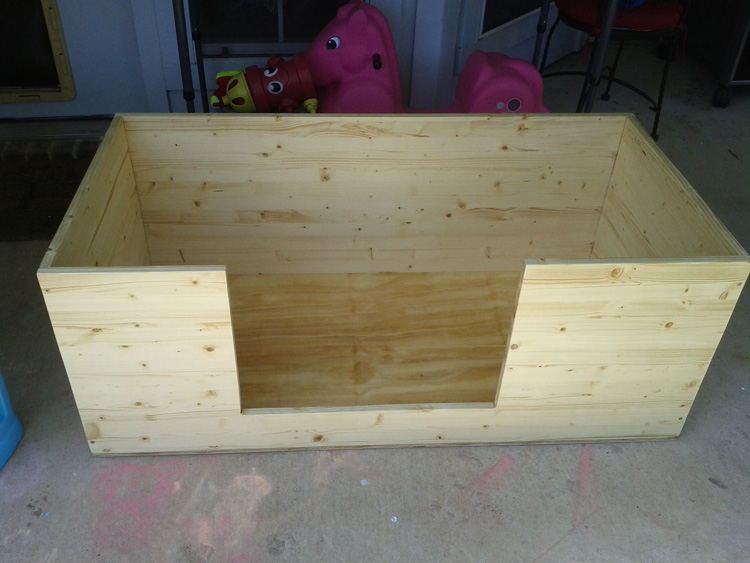
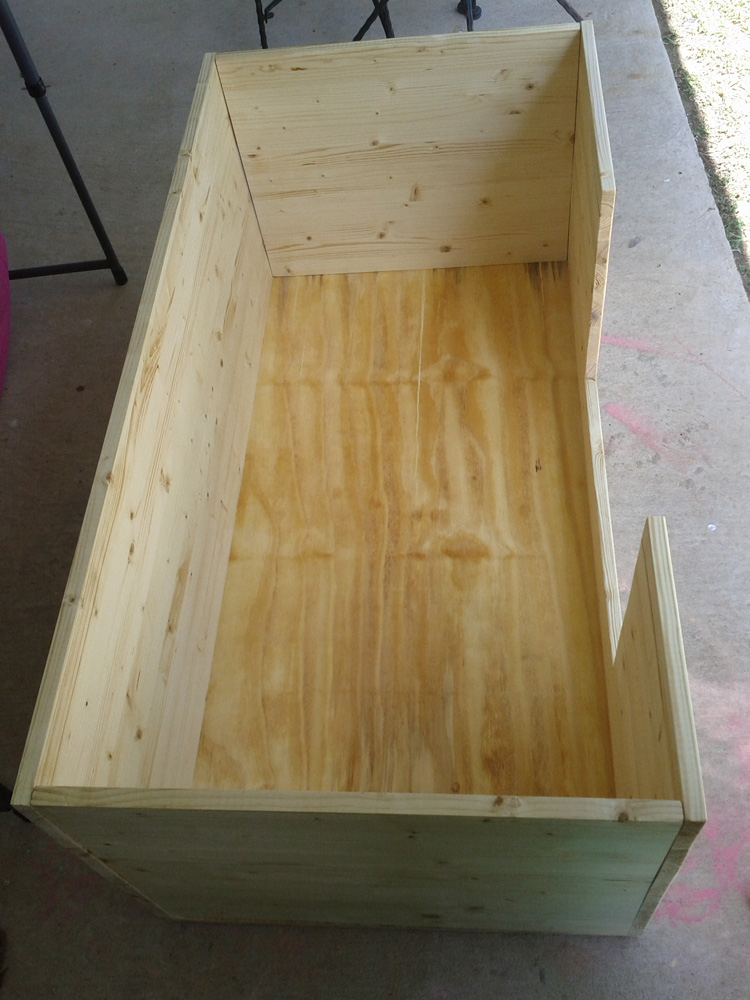
I start my construction by building a five sided rectangle box with the four sides using pine wood planks and a floor of plywood. Be sure to cut out a window hole in one of the long sides so you can keep an eye on your little tortoise.
I then sand my box to make it nice and smooth. Then apply a water proofing stain. I use Minwax but there are lots of others brands you can use also. Be sure to let the stain cure at least a week before moving your tortoise inside. The smell of the off gasses can be quite strong and potentially harmful to a fragile hatchling.
The next step is to line the entire inside of the box (the four sides and the floor) with the 2mm plastic painters tarp. Even though I put a water proofing stain on the wood the high humidity will cause mold to grow. Remember wood and high humidity don’t go together well. I use black Gorilla tape to attach the plastic lining to the four sides and floor inside.
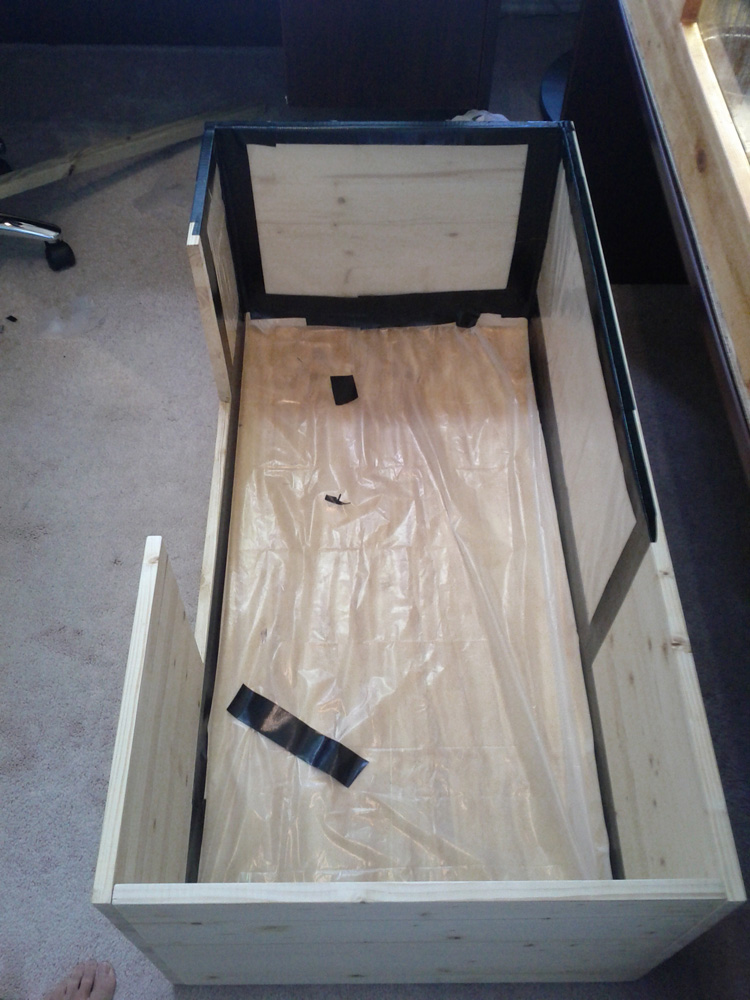
Once I have the inside all covered with the plastic tarp, I put the pre-cut glass pane in place and again use Gorilla tape to hold it secure. Be sure to make the glass pane and viewing window cut in the side wood panel the right sizes so that the glass pane will sit on the floor of the tortoise enclosure and extend to the very top of the side wall. You what a close seal at the top when you set on your top.
Important: make sure you frame the glass with Gorilla tape to give it more strength.

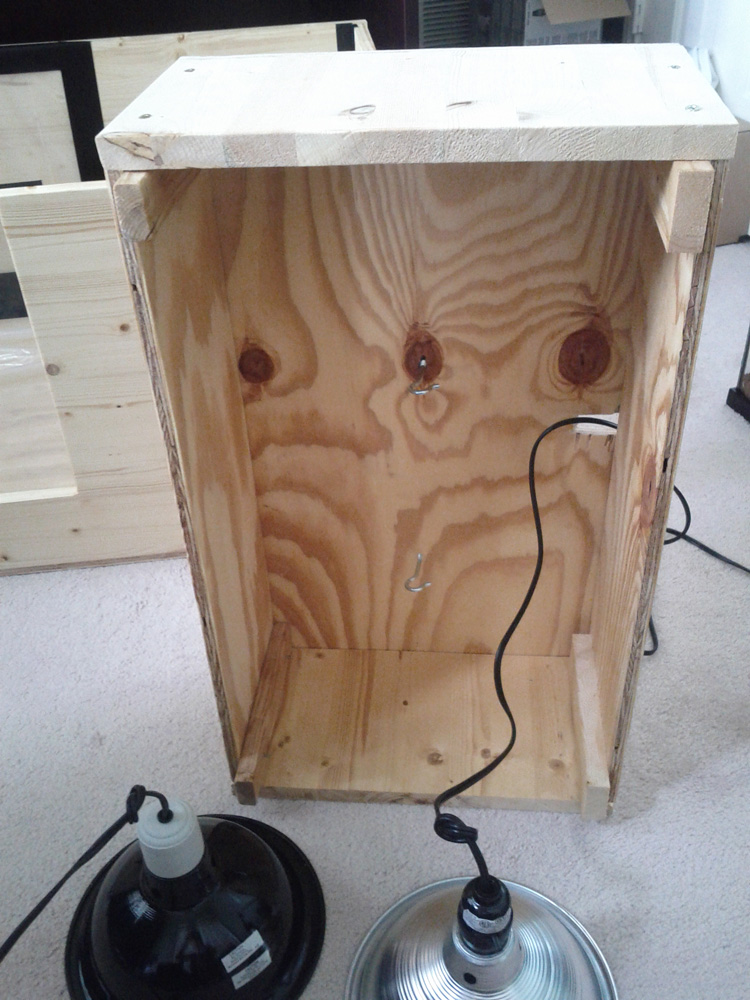
The next step is work on the top of the enclosed chamber. I like to have easy access to my tortoises for feeding, soaking, etc. so a wood top with hinges seemed tricky to make, heavy and a bit over kill for an indoor tortoise enclosure. All the top needs to do is hold the heat and humidity inside. Tortoises are not exactly going to scale the side or jump out. What I came up with was this: I choose one end of the tortoise enclosure to be the hot side where I want to mount the light and CHE. Then I built a small five sided box or light hood out of the wood scraps and set it on the top of what will be the hot side of the enclosed chamber. I cut small holes in to for the power cords and used screw hooks to attach the domed lamps inside. One domed lamp is the CHE for night heat and the other an incandescent light for day heat.
Then I make a frame with the PVC pipes and covered it with extra 2mm plastic painters tarp using regular tap to attache it to the PVC frame. The construction is much like making a canvas frame for a painting except I use PVC instead of wood and 2mm plastic instead of canvas. For added insulation I lay one inch thick Styrofoam panels on the top. This type of top is very cheap to make, light weight and allows added light to enter the tortoise enclosure. It works great for holding in the humidity and I can heat a 60″ L x 30″ W X 18″ H tortoise enclosure with one 60w incandescent bulb sufficiently.

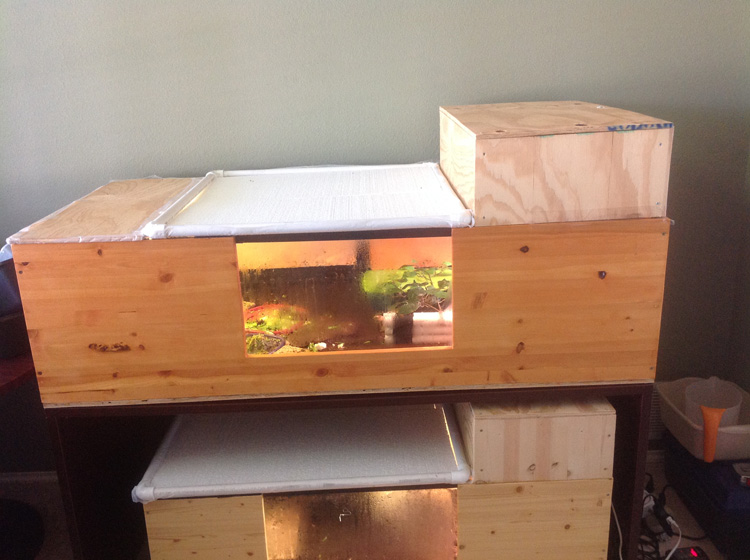
The only thing left now to do is add the sub-straight, I use dampened Coco Coir, water and food dishes and hides. Here is what it looks all put together. Notice the light box/hood on the top right side, the middle top is the removable PVC lid and the top left side is plywood set on top so I can mount another florescent light for added light in the far side of the enclosed chamber.
The total cost was about $100. I can make one any size to fit the space I have and being wood construction I can mount UVB/UVA lights anywhere inside. This is not 100% air tight and it should not be there are plenty of air gaps (I am no master carpenter) for air exchange also I take the PVC/tarp lid off a few times a day for feeding, soaking and transporting the tortoises for outside time. This is just one way to make an enclosed chamber. Remember the goal is to make the tortoise enclosure so that it will retain the desired humidity and temperatures and last a few years until your tortoise is ready for outdoor living.